Posted on April 28, 2019
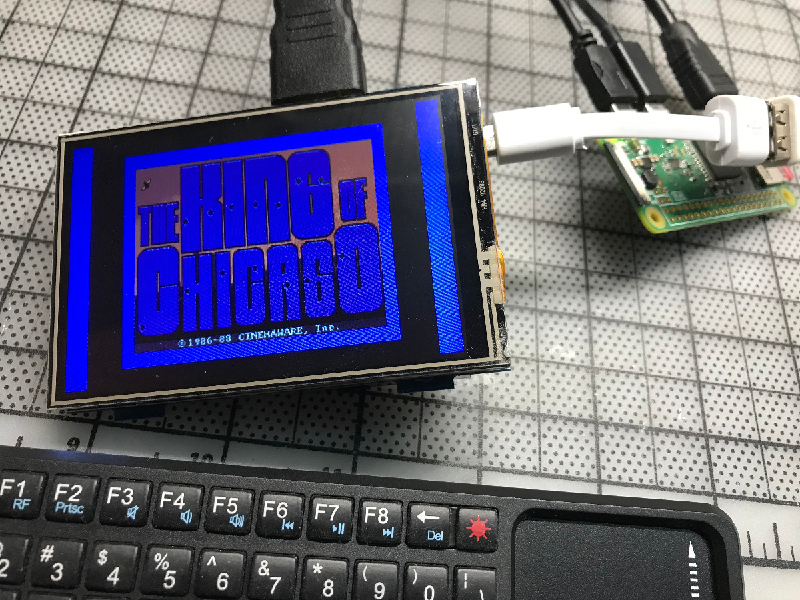
Installing the Apple IIgs emulator to Raspberry Pi.
I’m writing this guide to keep some records on how to install the GSPlus emulator on a Raspberry Pi Zero W. It’s intended for the general user with little linux knowledge. It was performed in MacOSX using Terminal and Transmit FTP client.
We assume you already have a Raspberry Pi Zero W, a 32GB SD card, A computer, internet access and a local WiFi network. The RasPi Zero is connected to power, monitor and keyboard.
First, on your computer, get the Retropie SD image latest version.
Write the image to the SD card, I use a program called Apple -PI Baker, which prepares the card and writes a proper format image.
Insert the SD card to the Raspberry Pi and turn it on.
When starts up, wait until “EmulationStation” starts and asks for an input device. Press F4 to stop and go to terminal.
Here we need to configure some things, so type:
sudo raspi-config
Select Advanced Options > Expand Filesystem. Run it.
Select Network Options > WiFi. Select your country, add your local WiFi network and password.
Select Boot Options > command line with auto-login
Select Interfacing Options > SSH. Enable it.
Exit and reboot (sudo reboot)
Optional: to Stop EmulationStation to start automatically every time, we can disable it:
sudo ~/RetroPie-Setup/retropie_setup.sh
Select Configuration / Tools > autostart
Select Manually edit and delete all. We will come back later to add the new emulator.
Get back to terminal (F4 from EmulationStation)
Update system
Let’s get the latest updates and upgrade to Stretch
 sudo apt-get update
 sudo apt-get upgrade
 sudo apt-get dist-upgrade
Modify Release
For upgrading to the new Raspbian version, the package lists must be adapted to the “Stretch” release. To do this, only the word “jessie” has to be replaced by “stretch”. In order not to overlook any position, we simply let the replacement be done by the following command:
sudo sed -i /deb/s/jessie/stretch/g /etc/apt/sources.list
sudo sed -i /deb/s/jessie/stretch/g /etc/apt/sources.list.d/*.list
Update package lists
The new package lists must then be updated and imported:
sudo apt-get update
Update to “Stretch“
Now we are ready to start the upgrade:
sudo apt-get upgrade
sudo apt-get dist-upgrad
The upgrade process is carried out in two steps: First of all, there is a minimal upgrade to avoid conflicts and then a complete upgrade. The upgrade may take a while depending on your Internet connection. A certain amount of attention is required during the update process, as some configuration files are also updated. Therefore, Raspbian asks several times if you want to replace certain configuration files with a new one. If you have made changes to individual configuration files yourself in the past, you should press D (display differences) or N (not replace) depending on the file, otherwise Y (to replace the old configuration file with a new one).
Clean up installation
Old, unnecessary packages are removed after the system update with the following commands:
sudo apt-get autoremove
sudo apt-get autoclean
Finally the Raspberry Pi has to be restarted.
Install GSPlus:
In terminal, type:
git clone https://github.com/RetroPie/RetroPie-Setup
cd RetroPie-Setup
sudo ./retropie_packages.sh sdl2
sudo apt-get update -y
sudo apt-get install -y libpcap0.8-dev libsdl2-image-dev
git clone https://github.com/digarok/gsplus.git
cd gsplus/src
ln -s vars_rpilinux_sdl2 vars
make
We can test the emulator by typing:
Sudo ./gsplus/gsplus
You will get a screen full of “@”. At this point the emulator is ready, we just need to configure it. Press F4.
On your computer, go to Alex Lee’s Great site What’s the apple IIgs and download a ROM3 image, plus a Boot image like the ‘System 6.0.4 Hard Drive Image‘
Decompress both and using the FTP program, transfer them to the Raspberry Pi, in the /home/pi/gsplus/ directory.
Back to the terminal, select the ROM File selection and choose the Apple IIGS ROM, then go to Disk configuration and select the System 6.0.4 Hard Drive Image as s7s1.
Save changes to configuration file and exit.
Hiding the boot text
On the terminal, type
sudo nano /boot/cmdline.txt
A quick summary of the options:
logo.nologo: turns off raspberry(s) at boot
quiet: hide messages
console=tty3: hide more messages (redirect boot messages to the third console)
loglevel=3: hide even more messages (disable non-critical kernel log messages) (Included with default RetroPie image)
vt.global_cursor_default=0: hide blinking cursor
plymouth.enable=0: disable plymouth boot text (Included with default RetroPie Image)
If using a plymouth bootsplash:
plymouth.ignore-serial-consoles: ignore serial consoles
plymouth.enable=0: remove to enable plymouth boot text
splash: enable plymouth splash
You can add the any of the options to the end of the cmdline.txt file make sure it is all on the same line or else it will break your boot sequence!!!
/boot/config.txt
disable_splash=1: Disable large rainbow screen on initial boot
avoid_warnings=1: will disable warnings
Hide login text:
touch ~/.hushlogin
Hide/modify message of the day (superseded by .hushlogin if used):
nano /etc/motd
Hide Autologin Text:
sudo nano /etc/systemd/system/autologin@.service
change
ExecStart=-/sbin/agetty --autologin pi --noclear %I $TERM
to
ExecStart=-/sbin/agetty --skip-login --noclear --noissue --login-options "-f pi" %I $TERM
Automatic start of emulator at boot
To start automatically the emulator after boot, go back to retropie config:
sudo ~/RetroPie-Setup/retropie_setup.sh
Select Configuration / Tools > autostart
Select Manually edit and delete all. We will come back later to add the new emulator. Add the line:
/home/pi/gsplus/gsplus -fullscreen -scanline 30 -arate 22050 -novsyn
tab to ok and exit config.
Optional: Add audio and video drivers.
If you are using the 2.8 zero screen, most likely will need USB audio as the other options will not work.
sudo apt-get install pulseaudio
cd ~/git clone https://github.com/tianyoujian/MZDPI.gitcd MZDPI/vgasudo chmod +x mzdpi-vga-autoinstall-onlinesudo ./mzdpi-vga-autoinstall-onlinesudo reboot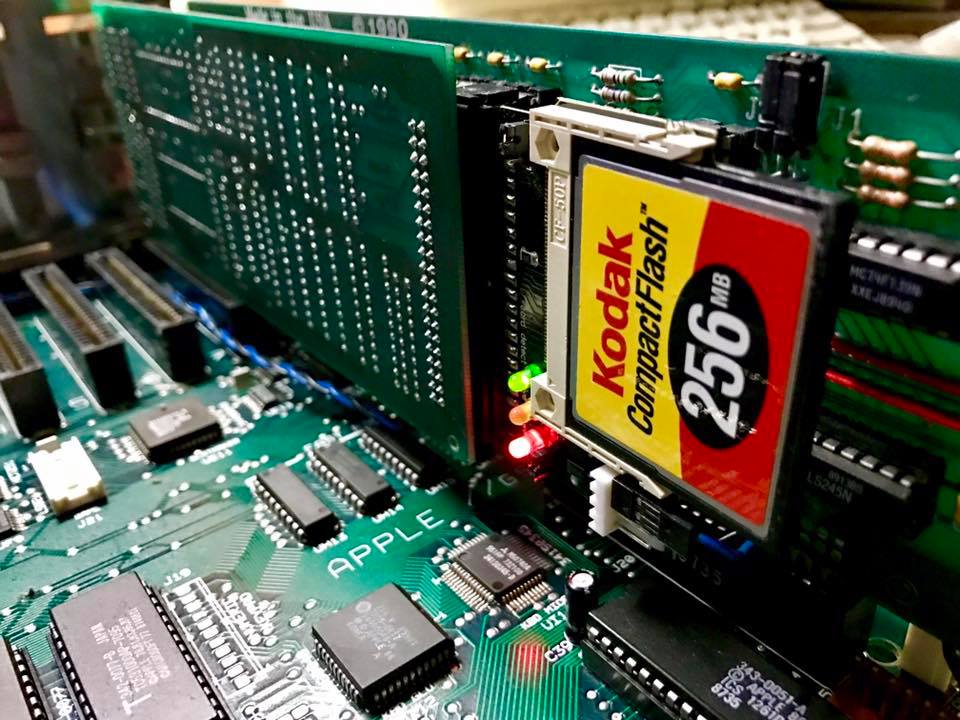
Posted on November 23, 2017
[:es]Actualizando un drive Vulcan[:en]Updating a Vulcan Drive[:]
[:es]
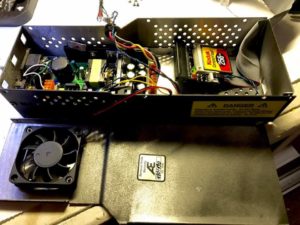
Hace unos meses adquirí una Apple IIgs, y para mi sorpresa, tenía una unidad Vulcan dentro. El Vulcan era una combinación interna de disco duro / fuente de poder con una tarjeta controladora. En ese momento, las únicas opciones de disco duro eran una unidad externa o una tarjeta IDE.
El Vulcan era atractivo al combinar una fuente de alimentación poderosa que también albergaba el disco duro. Era de color negro y se veía realmente bien reemplazando la fuente de alimentación interna. La tarjeta controladora conectada a la ranura 6 ó 7.
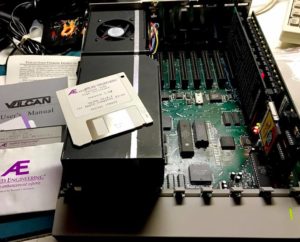 Cuando inicié la computadora por primera vez, emitía mucho ruido: el ventilador interno y el disco duro, ambos sonaban como un motor de avión. Después de algunas pruebas, me di cuenta de que el disco estaba muerto. Seguí usando la computadora hasta que la fuente de alimentación comenzó a hacer algunos ruidos. Esta estaba a punto de fallar.
Pensé en vender todo, pero después de unos días listado en eBay me di cuenta de que no todos estaban interesados en una Vulcan con fallas, y que obtendría muy poco por un artículo histórico de esta magnitud. Decidí arreglarlo y conservarlo, reemplazando las partes fallidas con opciones modernas. ¿Por qué? Porque no quiero tener problemas con las viejas unidades SCSI y fuentes de alimentación ruidosas que podrían fallar de nuevo.
Mis opciones eran simples: nuevo disco duro y fuente de alimentación. La fuente fue fácil, ya que hace tiempo tengo un Kit de Reactive Micro.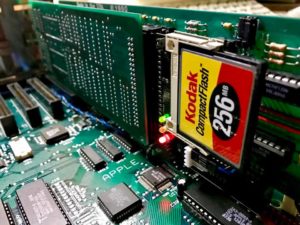
Después de varias búsquedas, encontré un adaptador CF a IDE, y un muchacho de eBay me vendió un kit que incluía una tarjeta SD formateada, el adaptador y un ROM (v2.0) para la tarjeta AE Vulcan.
Afortunadamente, mi ROM ya era la versión 2, así que solo tuve que conectar el adaptador y la tarjeta CF (usa 5V para el adaptador) para que fuera reconocida. Después de eso fue fácil instalar la última versión del sistema operativo.
Después de reemplazar la fuente de poder y el Disco Duro, quería mantener las cosas como originales, así que agregué un adaptador de cable e instalé el adaptador CF dentro del gabinete de la fuente de poder Vulcan, que ahora le sobra espacio. Finalmente reemplacé el ventilador interno por uno silencioso, ya que odio el ruido. agregé un pequeño interruptor para encenderlo y apagarlo, ya que realmente no es necesario, puesto que tanto la Fuente como la tarjeta CF son eficientes.
El resultado es un reemplazo agradable y rápido que mantuvo toda la forma original, pero me garantiza que no habrá fallas o problemas, y le da a mi Apple IIgs una gran ventaja al permitirme agregar más periféricos sin preocuparse por la capacidad de la Fuente de poder.
[:en] A few months ago i acquired an Apple IIgs, and to my surprise it had a Vulcan drive inside. The Vulcan was an internal combo of hard drive/power supply with a controller card. At that time, the only hard drive options were an external drive or an IDE card.
The Vulcan was attractive by combining a strong power supply that also housed the hard drive. It was black colored and looked really nice replacing the internal power supply. The controller card connected to slot 6 or 7.
When I first started the computer, it made loud noises. these were the internal fan and the hard drive, both sounding like an airplane engine. After a few tests realized the drive was dead. I continue using the computer until the power supply started to make some noises. The power supply was starting to fail.
I thought about selling the whole thing, but after a few days listed on eBay realized not everybody was interested in failing Vulcan, and would get very little for such a nice piece of history. Decided to fix it and keep it, by replacing with modern options. Why? Just because I don’t want to struggle with old SCSI drives, noisy power supplies that could fail again.
My options were simple: new hard drive and power supply. The PSU was easy, as I already have a Reactive Micro PSU Kit.
After several searches found a CF to IDE adapter, and a guy from eBay sold a kit that included an SD card formatted, the adapter and a ROM (v2.0) for the AE Vulcan card.
Fortunately my ROM was already version 2, so just had to connect the adapter and CF (it uses 5V for the adapter) card for it to get recognized. After that was a piece of cake to install the latest OS.
After the PSU and HD replacement, wanted to keep things like original, so added a cabler adapter and installed the CF adapter inside theVulcan power supply enclosure, which has lots of space now. Finally I replaced the internal fan with a silent one, as I hate noise. added a small switch to turn it on and off, as it’s really not needed with both PSU and CF being so efficient.
The result is a nice, fast replacement that kept all the good looks, but guarantees no failures or issues, and gives my IIgs a great advantage by allowing me to add more peripherals without worrying on PSU capacity.

Posted on July 25, 2016
[:es]Kansasfest: una semana regresando a los inicios de Apple[:en]Kansas Fest: A week back to the beginnings of Apple[:]
[:es]La semana pasada en la cuidad de Kansas, estado de Missouri en los Estados Unidos se llevó a cabo el festival de Apple II: Kansasfest, una conferencia anual que se ha celebrando por los últimos 28 años.
En los últimos años la concurrencia ha ido creciendo, muchos motivados por la nostalgia de las computadoras que marcaron la infancia de muchos de ellos. La gente camina por los pasillos cargando grandes y amarillentas Apple IIs, periféricos, monitores y tarjetas de todo tipo.
El propósito de la conferencia aparte de compartir el amor por las primeras computadoras personales creadas por Steve Wozniak y Steve Jobs, es el presentar creaciones caseras, modificaciones e innovaciones para la plataforma.
 Pero la parte más emocionante y más esperada de la conferencia, es el famoso “Garage Giveaway” (donación del garage) en donde uno de los entrañables y queridos organizadores del evento – Sean Fahey, dona una gran cantidad de computadoras y periféricos que ha reunido durante años obtenidos de distintos coleccionistas y entusiastas.
En los últimos años, la antigua plataforma ha recibido bastante atención de los entusiastas, debido a que estas primeras computadoras no parecen ser afectadas por la llamada “obsolescencia controlada” que sufren los equipos modernos. Una de las bondades de estas computadoras es que están construidas como tanques, las partes resisten maltratos y cuando fallan, son fáciles de reemplazar. Uno de los asistentes presentó una IIe que encontró enterrada en un jardín, solo sobresaliendo una esquina. Después de limpiarla arduamente, funcionó sin problemas.
La conferencia se lleva a cabo durante cinco días en las instalaciones de la Universidad de Rockhurst. El ambiente es confortable, de gran camaradería y los participantes se transforman en universitarios por unos días. Generalmente las puertas siempre están abiertas permitiendo que los participantes compartan actividades programando, conversando o trabajando en algún experimento para presentar o ayudar a algún camarada.
En las presentaciones se pueden encontrar “hacks” o modificaciones a todo tipo de electrónicos, desde emuladores de disco flexible en memorias SD, conversiones de Fuentes de poder a nuevas tecnologías, adaptaciones de CRT (tubo de rayos católicos, los viejos monitores de vidrio) a LCD, adaptaciones para conectar estos sistemas al internet, y mucho más.
También hay muchas novedades e innovaciones en programación. Esto es porque estos sistemas fueron creados específicamente para ser programados con facilidad por el mismo Steve Wozniak.
Nuevos juegos, variantes de programación e innovadores usos son presentados por usuarios que participan en festivales de programación. Se forman pequeños grupos que se ayudan y cooperan para crear aplicaciones graciosas o funcionales, intercambian historias, impresiones y se ayudan mutuamente en cualquier problema.
La concurrencia no sólo es local: visitantes de Japón, Francia, Suiza, Australia y Canadá viajan específicamente para atender y participar. Es muy común ver cómo empacan grandes cajas con computadoras que viajarán miles de kilómetros a un nuevo hogar.
En los últimos años la participación se ha ido incrementando en parte gracias a las redes social que han ayudado a difundir el evento. Las personas que acuden por primera vez generalmente vuelven al siguiente año gracias al entusiasmo, camaradería y buena organización del mismo. Cabe mencionar que la pasión por la Apple II une a este grupo diverso de participantes sin importar raza, religión, sexualidad o afiliación política.
Finalmente, es admirable cómo una tecnología del pasado une individuos en el presente para mejorar el futuro de la plataforma.
https://m.youtube.com/watch?v=JnNWYckuHTs[:en](Warning: Google translated text- many errors ahead)
Last week in the city of Kansas, Missouri in the United States week took place the Festival Apple II: Kansasfest, an annual conference that has been held for the past 28 years.
In recent years the competition has grown, many motivated by nostalgia for computers that marked the childhood of many of them. People walk through the halls carrying large and yellowed Apple IIs, peripherals, monitors and cards of all kinds.
The purpose of the conference other than sharing the love for the first personal computers created by Steve Wozniak and Steve Jobs, is the present home creations, modifications and innovations for the platform.
 But the most exciting and anticipated of the conference, it is the famous “Garage Giveaway” (donation garage) where one of the beloved and dear organizers – Sean Fahey, donates a lot of computers and peripherals met for years obtained from different collectors and enthusiasts.
In recent years, the old platform has received much attention from enthusiasts, because these first computers do not appear to be affected by the “controlled obsolescence” suffered by modern equipment. One of the benefits of these computers is that they are built like tanks, parts resist abuse and when they fail, they are easy to replace. One of the attendees presented a IIe he found buried in a garden, just sticking a corner. After cleaning hard, it worked smoothly.
The conference is held for five days at the premises of the University of Rockhurst. The atmosphere is comfortable, great camaraderie and participants become university for a few days. Usually doors are always open allowing participants to share programming activities, talking or working on an experiment to present or help a comrade.
In presentations you can find “hacks” or changes to all types of electronics, from emulators floppy disk in SD memories, conversions Power Supplies to new technologies, adaptations of CRT (tube Catholic rays, the old monitors glass) LCD, adaptations to connect these systems to the Internet, and more.
There are also many new products and innovations in programming. This is because these systems were specifically created to be easily programmed by the same Steve Wozniak.
New games, variants of programming and innovative applications are submitted by users participating in festivals programming. small groups who help and cooperate to create funny or functional applications, exchange stories, impressions and help each other in any form problem.
The competition is not just local: visitors from Japan, France, Switzerland, Australia and Canada traveling specifically to attend and participate. It is very common to see how big boxes packed with computers that travel thousands of kilometers to a new home.
In recent years, participation has increased in part due to the social networks that have helped spread the event. People who come for the first time usually return the next year thanks to the enthusiasm, camaraderie and good organization of the same. It is worth mentioning that the passion for the Apple II unites this diverse group of participants regardless of race, religion, sexuality or political affiliation.
Finally, it is admirable how a technology of the past unites individuals in the present to improve the future of the platform.
https://m.youtube.com/watch?v=JnNWYckuHTs[:]

Posted on January 27, 2014
Actualizacion de Hackint0shUpdating the Hackint0sh
Ya hace casi dos años que armé mi segunda Hackint0sh. Desde entonces, ha sido mi caballo de batalla, funcionado sin problemas corriendo OSX Lion todo este tiempo. Como actualizar en una Hackint0sh es a veces complicado, opté por no hacerlo, y nunca tuve problemas… hasta ahora.
Resulta que el sábado de noche convirtiendo un vídeo y corrigiendo en Photoshop (es una computadora muy poderosa y hago varias cosas simultáneamente todo el tiempo) de pronto el “Finder” se trabó, sin embargo seguía escuchando música de Pandora y podía navegar la red. Como la “pelota de playa” seguía dando vueltas, decidí reiniciar la computadora. Cual seria mi sorpresa al notar que al arrancar de nuevo apareció un mensaje: “Buscando sistema operativo…” Esto no me gusto nada, y después de dos arranques, desconecte el disco duro, un OCZ Vertex 3, con poco mas de un año de uso. Estuve un buen rato tratando de montarlo en mi laptop, en la mini, y al final desde Parallels. Nada, completamente muerto.
Al buscar soluciones en linea, encontré que mucha gente ha tenido problemas con esa marca. A mi me parecía buena, pues el primer SSD que tuve fue un OCZ, de hecho sigue funcionando de maravilla en la laptop de mi hija, ya por cuatro años.
Tuve que aguantar la rabia y lo tomé positivamente: ahora los discos SSD son mas baratos y están mas probados, por lo que leyendo encontré que los Intel y Samsung son los mejores, y los peores son Crucial, Kingston y OCZ. Fui a la tienda y compré un Samsung (no tenían Intel) SATA III bastante rápido. Aguante las ganas de comprar alguno de mayor capacidad, ya que este es suficiente para sistema y programas.
Por suerte y gracias a pasadas experiencias y consejos de amigos tecnófilos, siempre he procurado usar dos discos (cuando el hardware lo permite) uno pequeño con el sistema y aplicaciones, y otro mayor con los datos. De esta manera utilizando un SSD la computadora arranca muy rápido, carga los programas de igual manera, y no se fragmenta con archivos, al residir estos en otro disco.
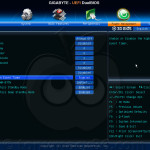
De esta misma manera me he acostumbrado a respaldar mis datos, en diferentes medios, principalmente en mi servidor casero, asi que restaurar el sistema seria fácil. Sin embargo, esta es la oportunidad para actualizar tanto el sistema como el BIOS de mi Hackint0sh, ya que hay una nueva versión llamada UEFI (Unified Extensible Firmware Interface) que añade nuevas capacidades y optimiza el equipo. Por esto mismo investigué antes de comprar el equipo y compre uno que fuera actualizable y moderno.
Después de seguir una guía en tonymacx86.com, actualicé el BIOS, proceso bastante rápido y automático que me ha dado una nueva interfase, moderna, con mas opciones y que carga mas rápido. Luego de modificar las opciones para funcionar como Mac, procedí a instalar Mavericks siguiendo el proceso de Unibeast y Multibeast, he de confesar que esto no es para los neófitos: tuve que reinstalar al menos tres veces porque no recordaba como lo había hecho hace un par de años y me daba “Kernel Panics”, hay que tener paciencia y ser muy cuidadoso.
Al fin tengo funcionado Mavericks con dos monitores, perfecta resolución, audio y red sin problemas. Ahora aprovecharé para restaurar mis preferencias en versiones actualizadas de Adobe, Apple, Mozilla y otros que uso casi a diario.It’s been two years since I put together my Hackint0sh. Since then, it has been my daily workhorse running OSX Lion all this time. Since updating a Hackint0sh can get complicated, I opted to stay on lion, as I had experienced no problems… until now.
I was working last Saturday converting a video, listening to music, browsing the web and Retouching with Photoshop (the computer can handle several tasks and I do it all the time). Suddenly, the “Finder” got stuck on the “beach ball”, but Pandora was still streaming music and I could navigate the web. After a few minutes i decided to restart the machine. I was surprised to get after the restart a text message: “Searching for Operating System…” I was not amused, and after several restarts and unplugs I removed the hard drive, an OCZ Vertex 3, that I bought a little more than a year ago. I spend some time trying to mount it on my Laptop, Mini and at the end even through Parallels, with no avail. It was completely dead.
Looking online for solutions, I found out that a lot of people is havint trouble with OCZ. I had a good opinion of the brand, as my first SSD is an OCZ, in fact it’s being going strong for four years on my daughter’s laptop.
I had to calm my ire and take it on a positive way: now the SSD drives are cheaper and proven, so after a few reviews found out Intel and Samsung are more reliable, with Crucial, Kingston and OCZ as the ones giving most problems. I went to the store and bought a Samsung (they were out of Intels) SATA III which is pretty fast. I restrain myself of buying a bigger drive, as 120 is enough for the system and applications.
Thanks to past experiences and techie friends’ advice I have learned to use two hard drives (when hardware permits), a fast one for the OS and applications, and a bigger for data. This way and using an SSD the computer will start faster, load programs faster and keep important information separated.
At the same time I have get used to backup my data, in different media, the main one being my home server. This time although, I will take the opportunity to update both the system and the motherboard BIOS. I found out there’s a new UEFI (Unified Extensible Firmware Interface) firmware update that adds new options and optimization to my system. This is the kind of things I did my research before buying the hardware, to be able to update and extend my hardware over time and stay up to date.
After following tonymacx86.com guide, I updated the BIOS in a very fast an easy way. It goes away from the old text and crummy graphics bringing a nice, modern interface with new optimized options. After modifying the options to work with OSX, I started to install Mavericks following the UniBeast and MultiBeast processes. I have to confess this sis not for the faint of heart: I had to reinstall at least three times since I didn’t remember how I did it two years ago, and got some “Kernel Panics”, you have to be patient and careful.
Finally I have a stable working Mavericks system with two monitors, perfect resolution, audio and networking without issues.I will take the opportunity and install my preferences to updated versions of Adobe, Apple Mozilla and other applications that use daily.
Posted on December 2, 2013
Bolsa para Apple //cThe //c computer bag
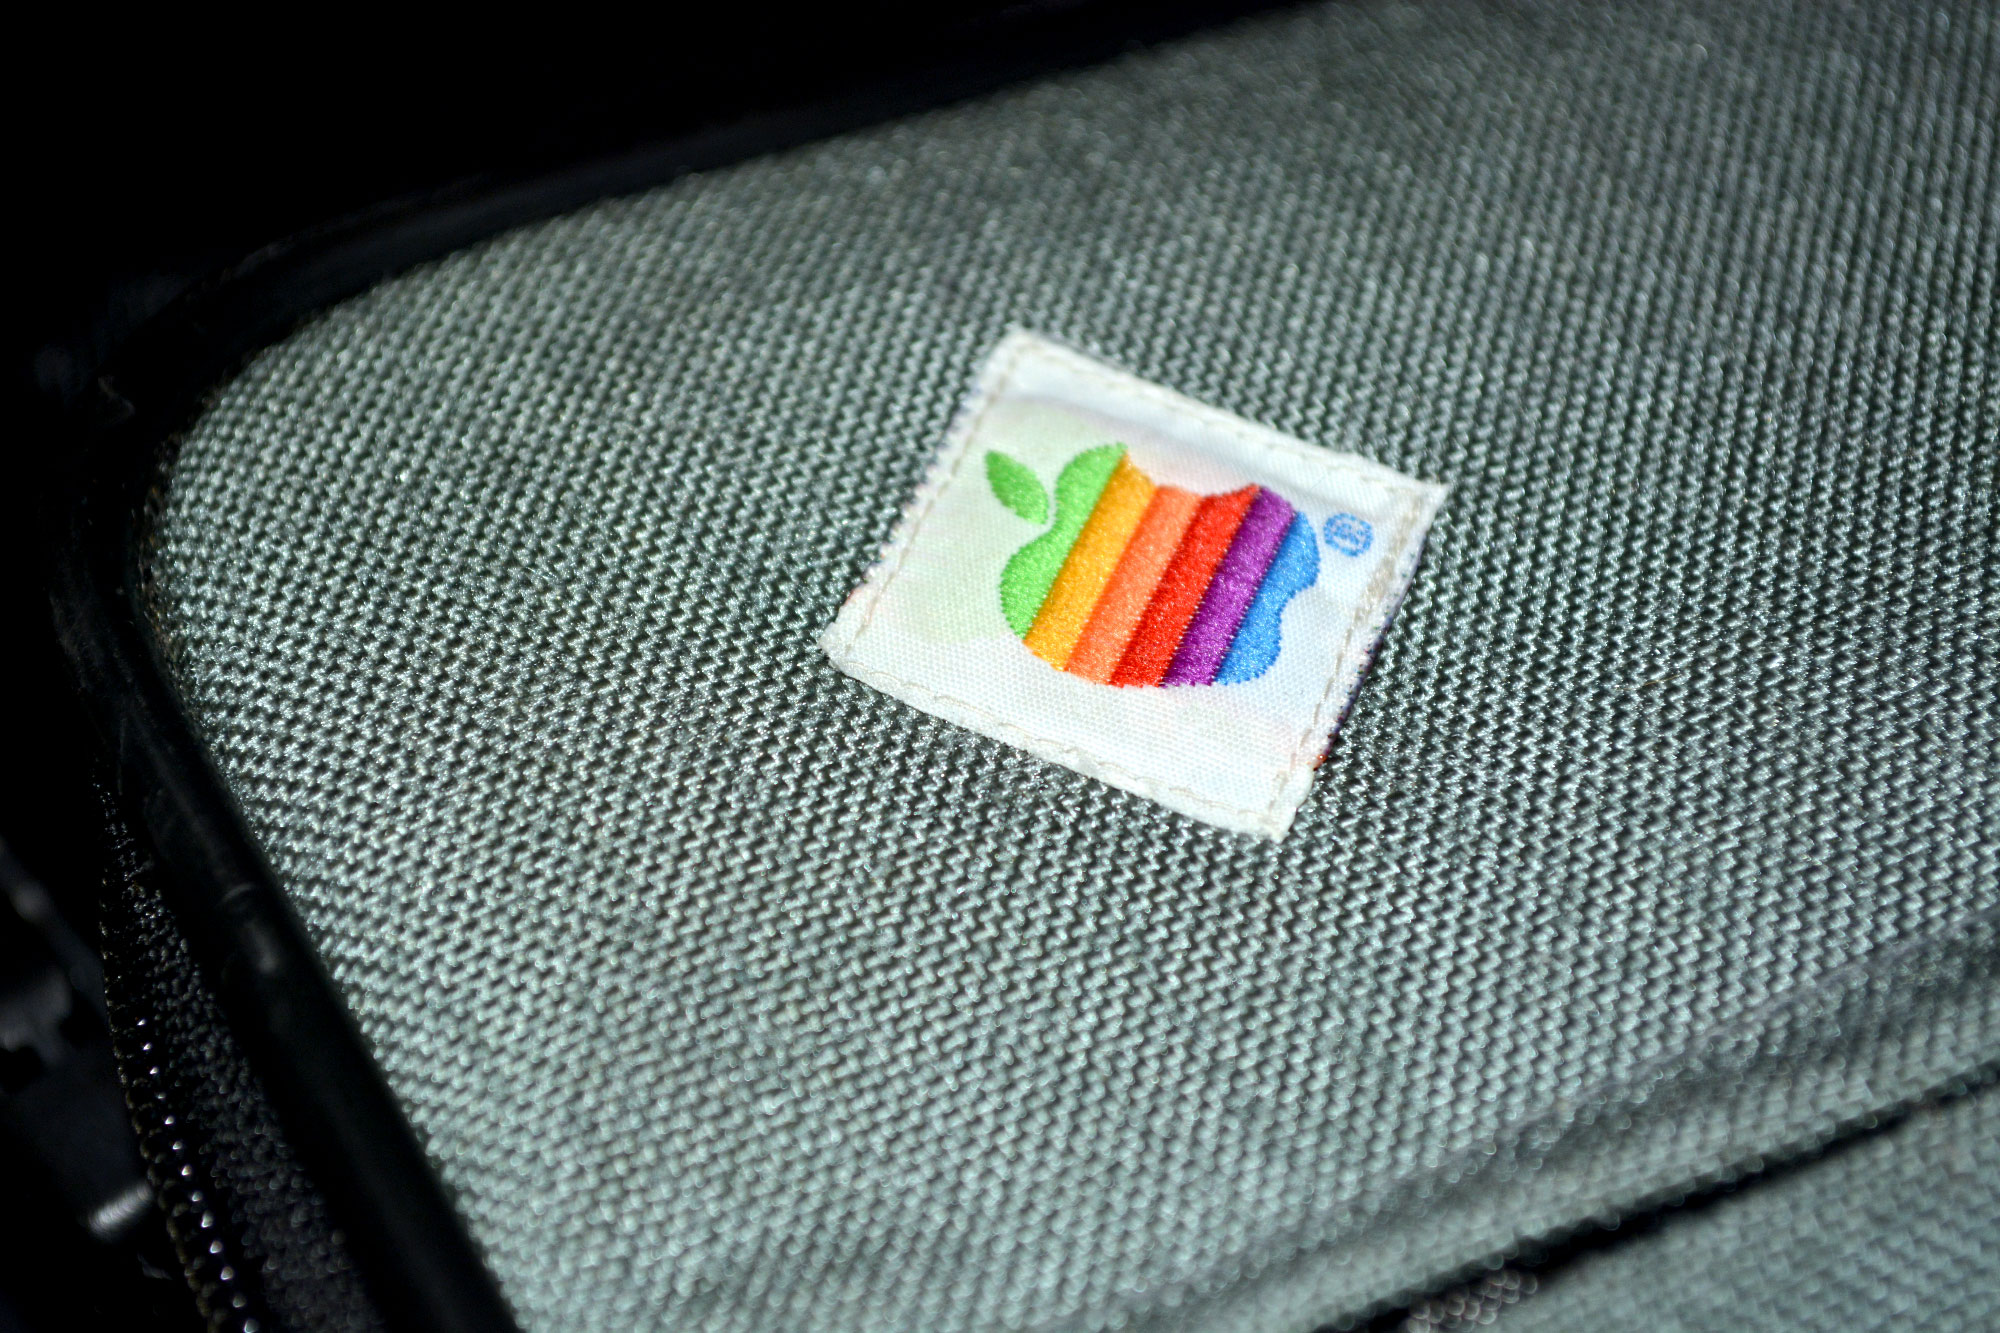
Cuando Apple introdujo la //c, 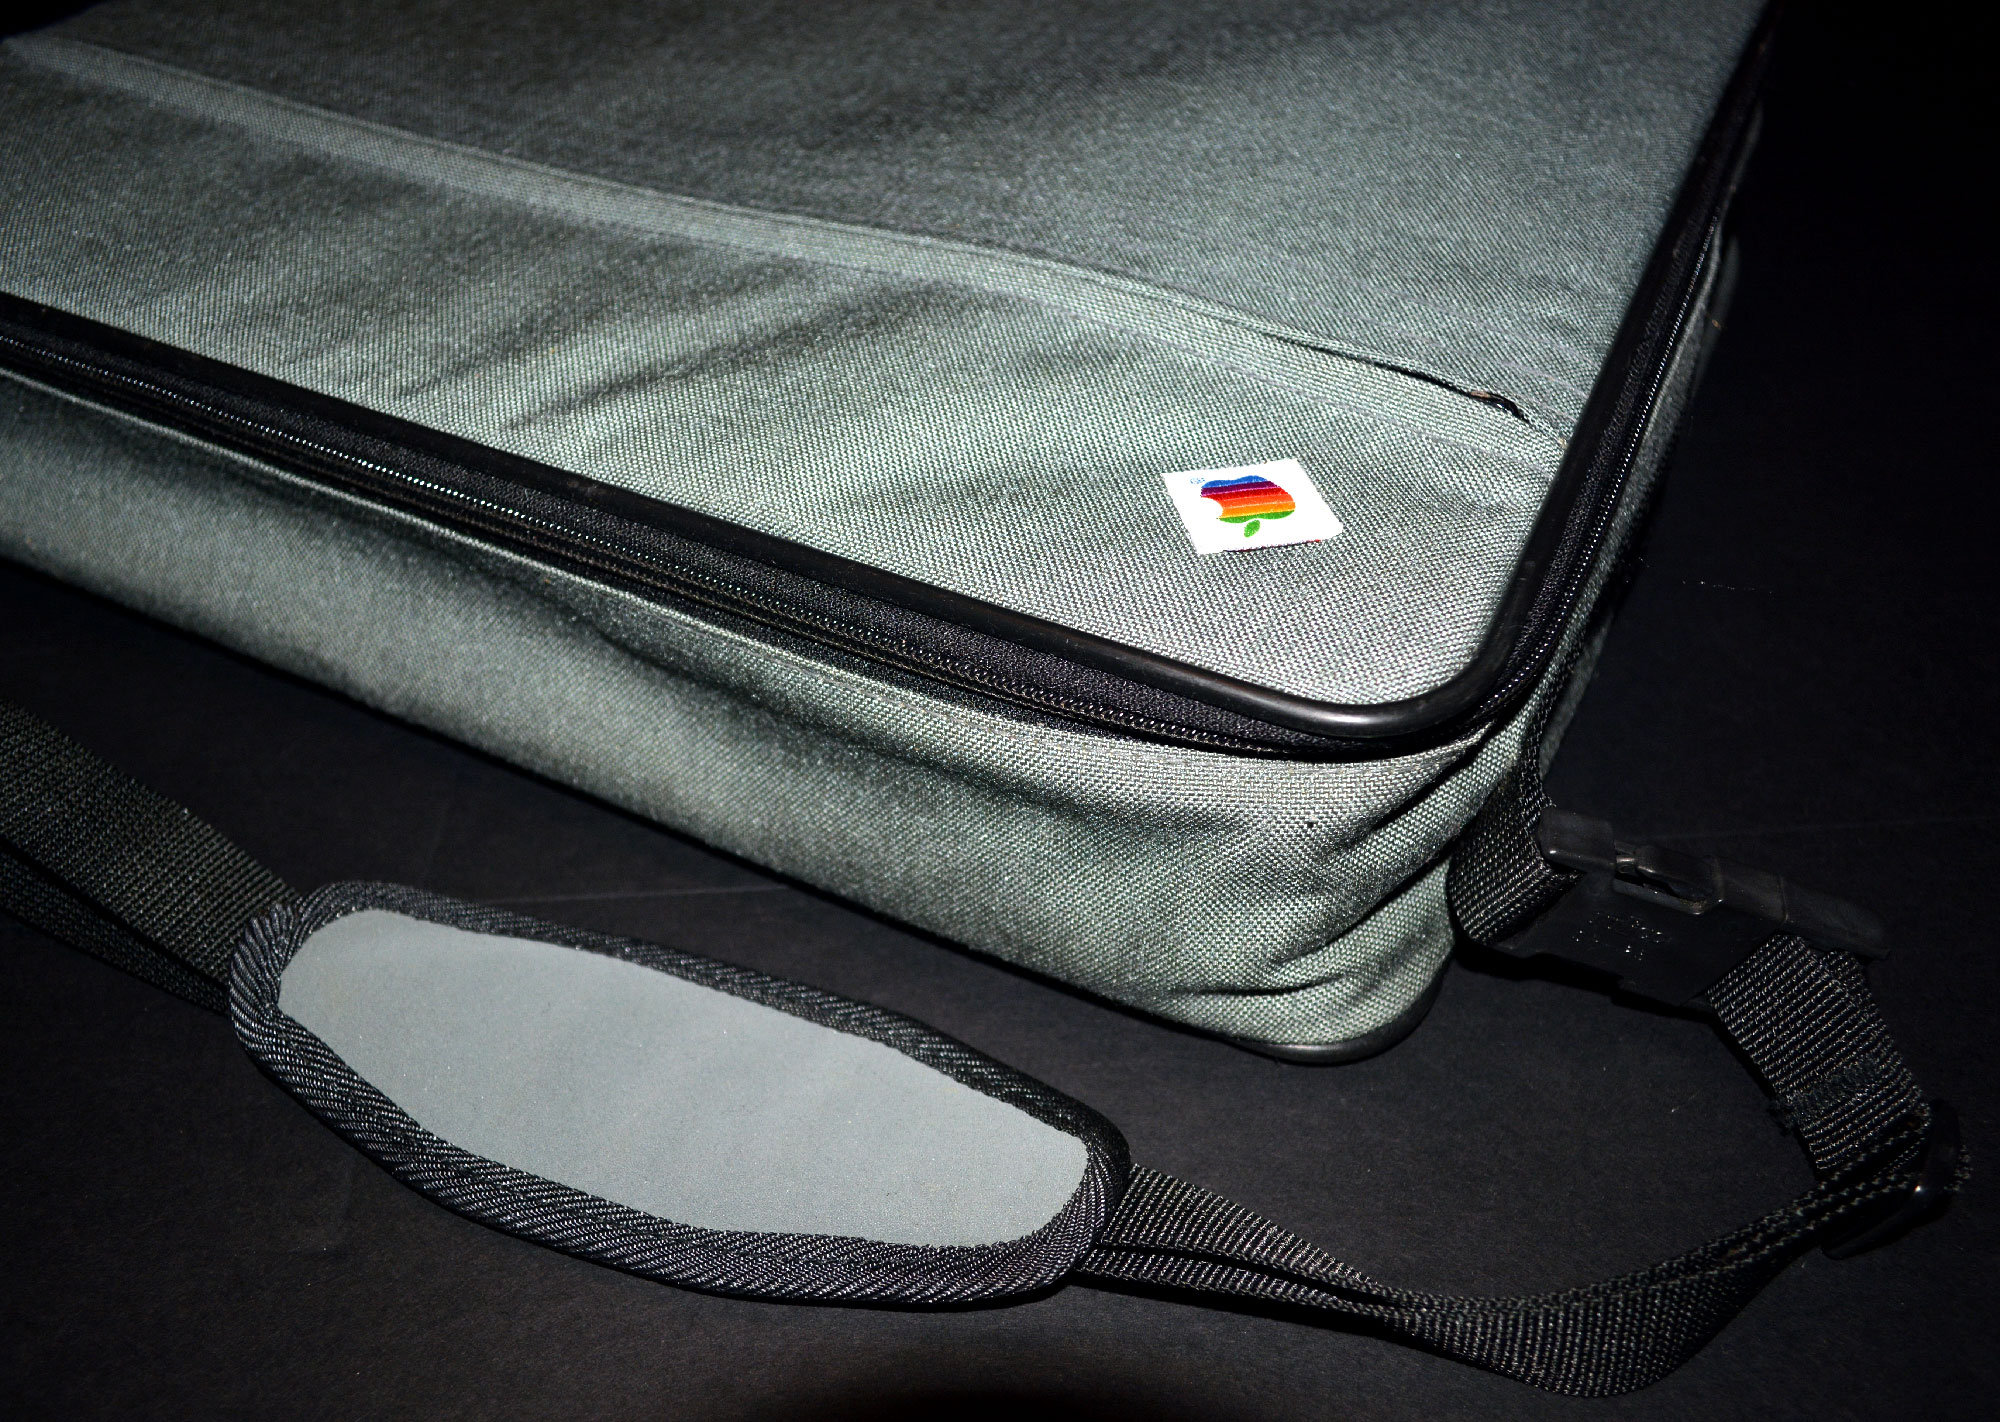 entre los accesorios específicamente creados para esta sacaron una bolsa para llevar la computadora, ya que era la primera “portátil”. La bolsa era muy básica: gris claro, con un zipper y divisiones internas para guardar el CPU, la fuente de poder y algún accesorio como el ratón o Joystick.
Hace tiempo que quería hacerme de una de estas, pero los precios estaban por las nubes – he llegado a verlas hasta en $200!. Por fin surgió la oportunidad y pude ganar una en buen estado , aunque bastante sucia, a menos de $30. Al recibirla lo primero que hice fue limpiarla fuera de casa, por si encontraba pelos de gato o cualquier cosa que me cause alergias. Después la revise, y probé limpiarla con espuma para alfombras. Resultó ser bastante efectivo, y luego de dos veces quedó como nueva.
Estas bolsas son muy fuertes y sobre todo protegen al CPU de ponerse amarillo con la luz del sol. Ahora tengo como proteger mi //c contra el sol.
Posted on December 2, 2013
Apple Modem 1200Apple Modem 1200
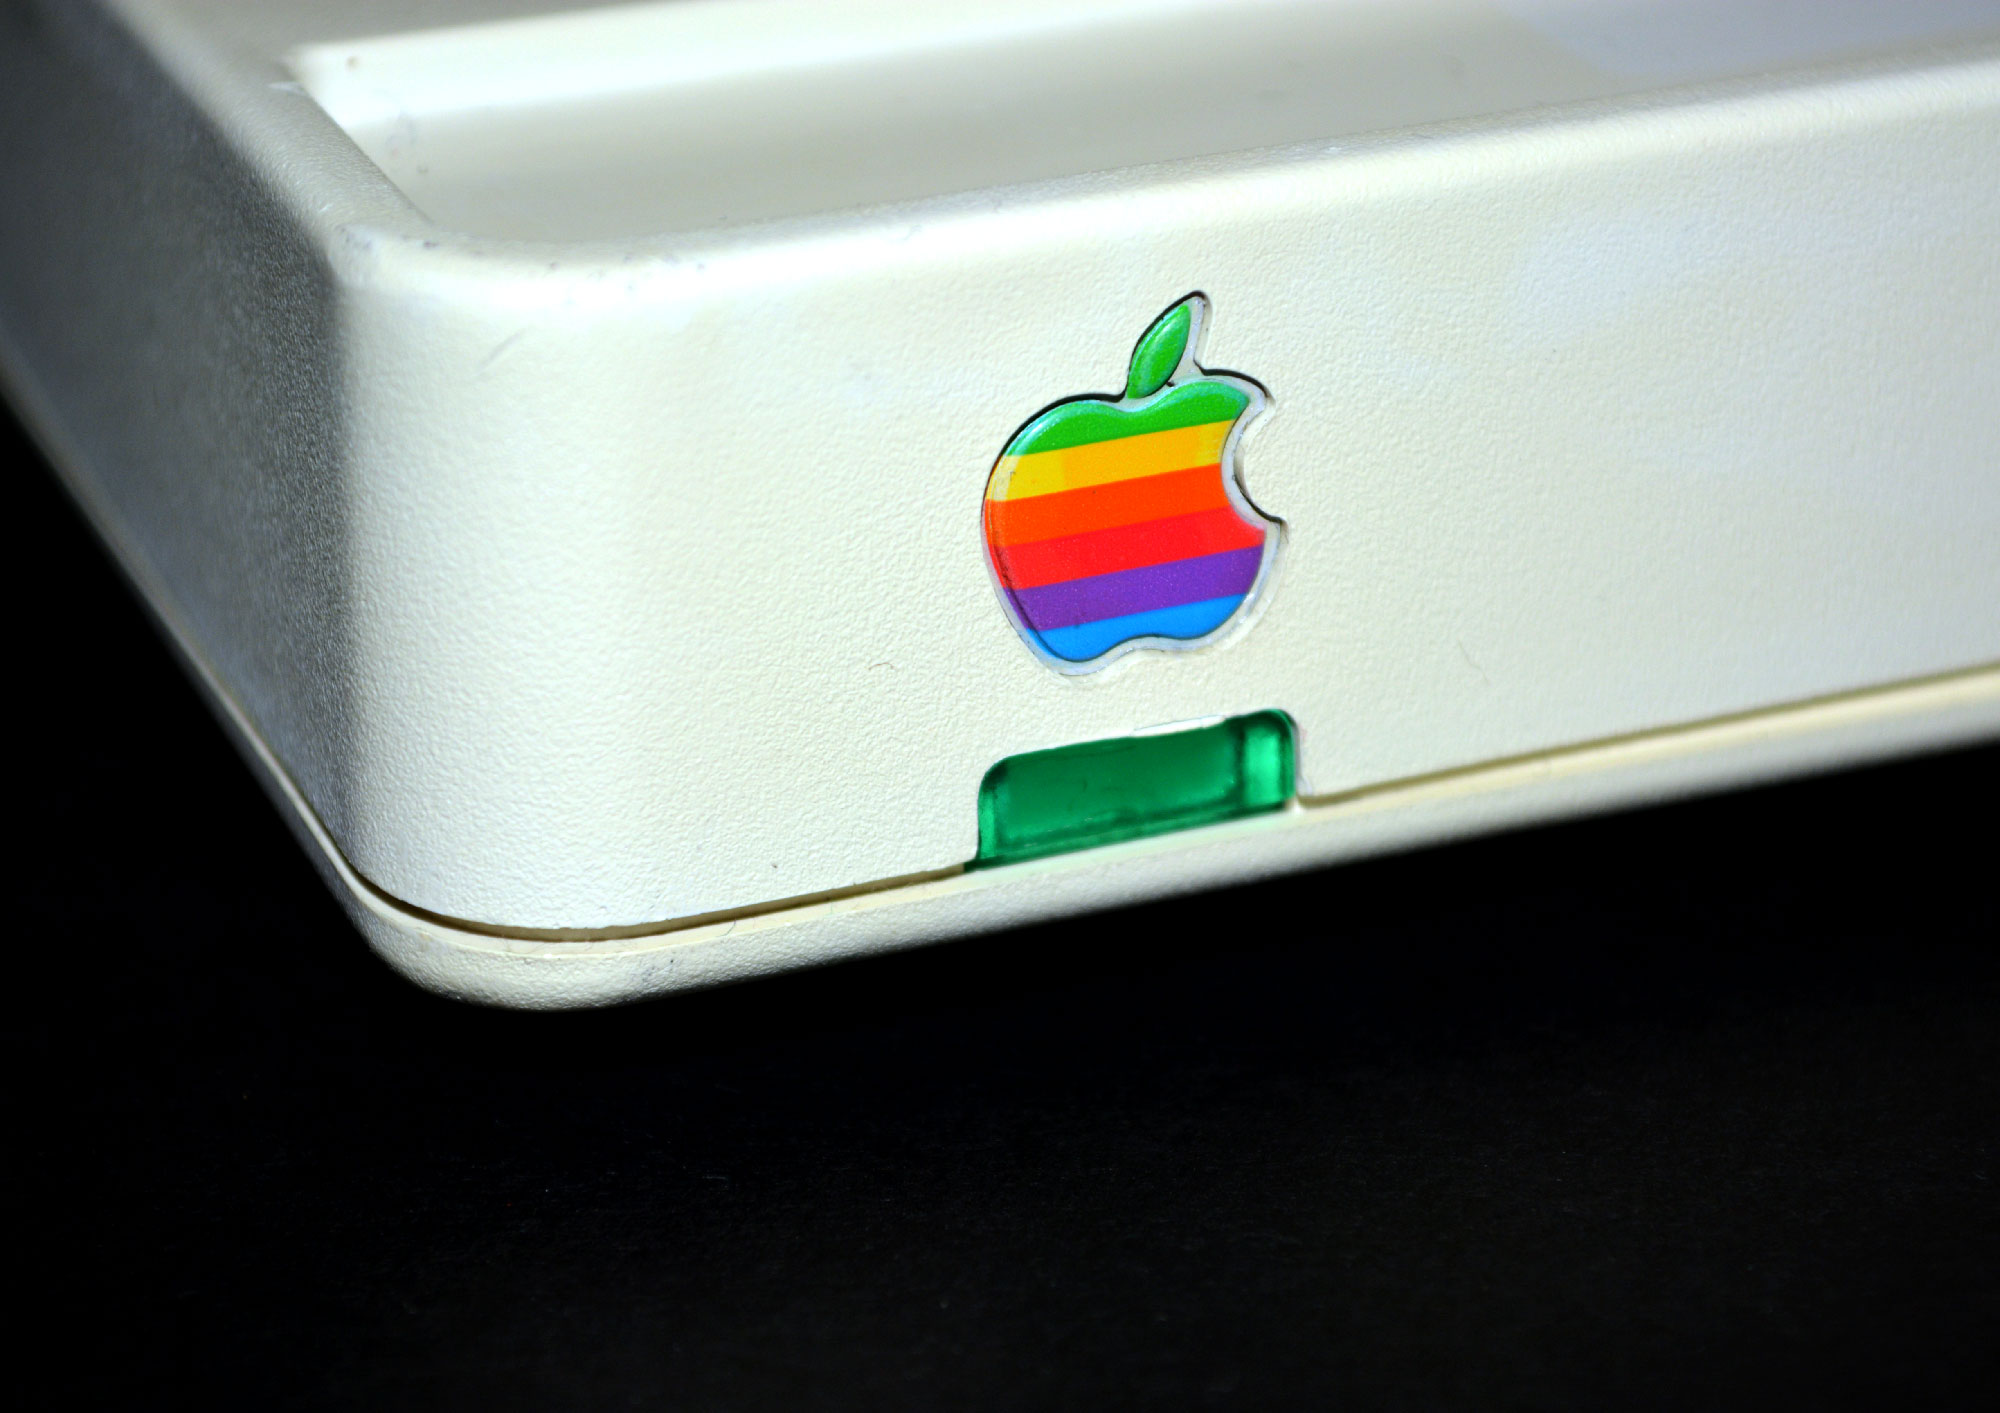
A mediados de los 80’s, Apple saco el Apple Modem 1200, en color beige y blanco. este ultimo era considerado parte de los periféricos de la //c, después reemplazado por el Apple personal Modem 300/1200.
 Hace poco encontré uno en buen estado y a buen precio, por lo que ahora forma parte de la colección, con una buena limpieza de por medio. Creo que ahora tengo demasiados modems, que haré con ellos?In the mid 80’s Apple came out with the Apple Modem 1200,a branded modem that came in beige and white colors. This last one was considered part of the Apple//c peripherals, as it appeared in the ads, later replaced by the platinum Apple personal Modem 300/1200.
 It is a hard to find item, finally foud one at a sensible price and got it. A few days later another appeared, and after nobody bid on it, I got it at the base price. Nice!
I got two modems already cleaned and looking pristine, now I may have too many modems, what to do with them?
Posted on December 1, 2013
Beagle BrothersBeagle Brothers
Cuando comencé a programar en computadoras, primero en Basic con la TI-99/4A, y poco después ensamblador con la Apple //c, había pocas opciones para aprender. Como no fuera un libro específico, difícil de obtener en esos tiempos, solo existían las revistas de cómputo, donde se aprendía copiando programas que venían línea por línea, como artículos explicados brevemente. Esto te obligaba a no tener fallas, y a escribir mucho.
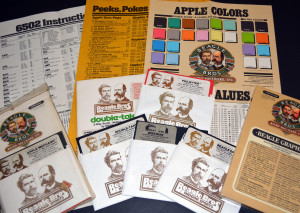
Poco después conocí los programas de “Beagle Brothers”, una empresa que a diferencia de las demás no ponía protección en sus discos, y enseñaba de una forma divertida tips y trucos de programación. Los mejores eran los posters incluidos con toda clase de información importante.
Desde entonces trataba de comprar estos programas siempre que fuera posible, con mis ahorros de juventud. Con el tiempo me hice de una buena colección de éstos, de los cuales solo me quedan tres: Beagle Graphics, Disk Quick y Utility City. Ahora he vuelto a conseguir poco a poco algunos mas, y si es posible voy a tratar de obtener la colección completa. Ya veremos.
When I started programming computers, first Basic on the TI-99/4A, and soon assembler on the Apple //c, there were few options to learn it, more in a spanish speaking country.
Other than an specific book, hard to obtain in those times, my only option were computer magazines where I learned by copying the program listings they published every month. they were short programs printed line by line and explained briefly. This will force you to avoid typos and to write fast.
Later i discovered the “Beagle Brothers” programs, a different software company that didn’t copy-protected their disks, and encourage users in a fun way to discover and learn code, and programming tricks. The best for me were the posters full of useful and important information.
After that I always tried to buy their programs with my teenage savings, as much as I could. Over the years I made a good collection of their products, from which I only kept three: Beagle Graphics, Disk Quick & Utility City. Now I have been getting more of them little by little and will try to get the full collection. We will see.
Posted on September 28, 2013
Controles manuales AppleApple Hand Controllers
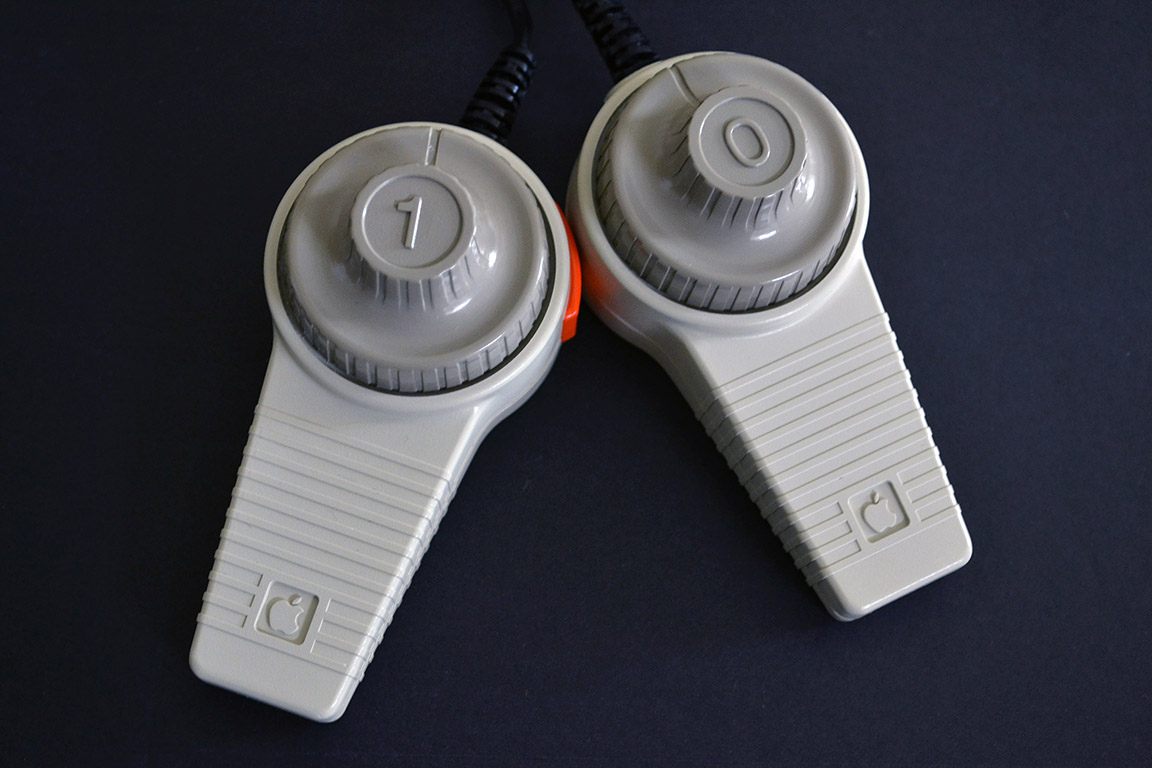
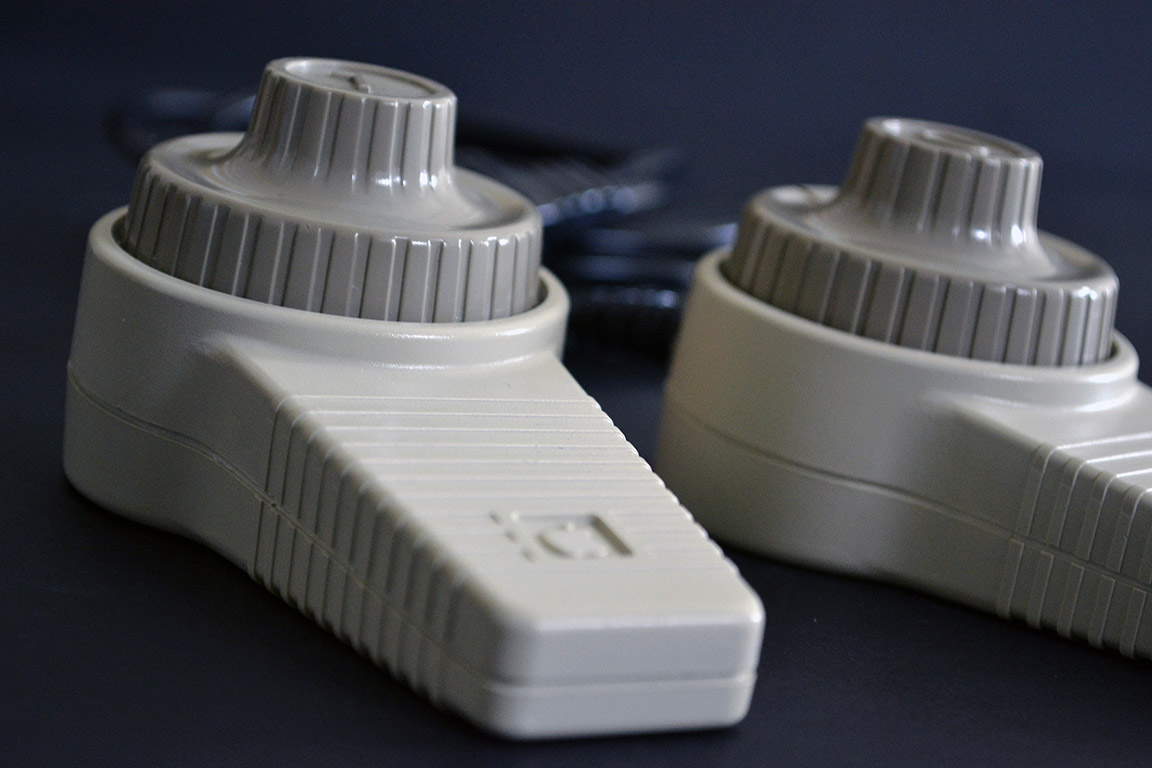
Cuando era niño mi padre trajo en uno de sus viajes el primer juego electrónico que recuerdo: el “Pong”. Este juego era una “consola” que se conectaba a la televisión, y se jugaba con un par de controles negros, llamados paletas (paddles en inglés) con los que se controlaba el movimiento de las raquetas virtuales en un eje.
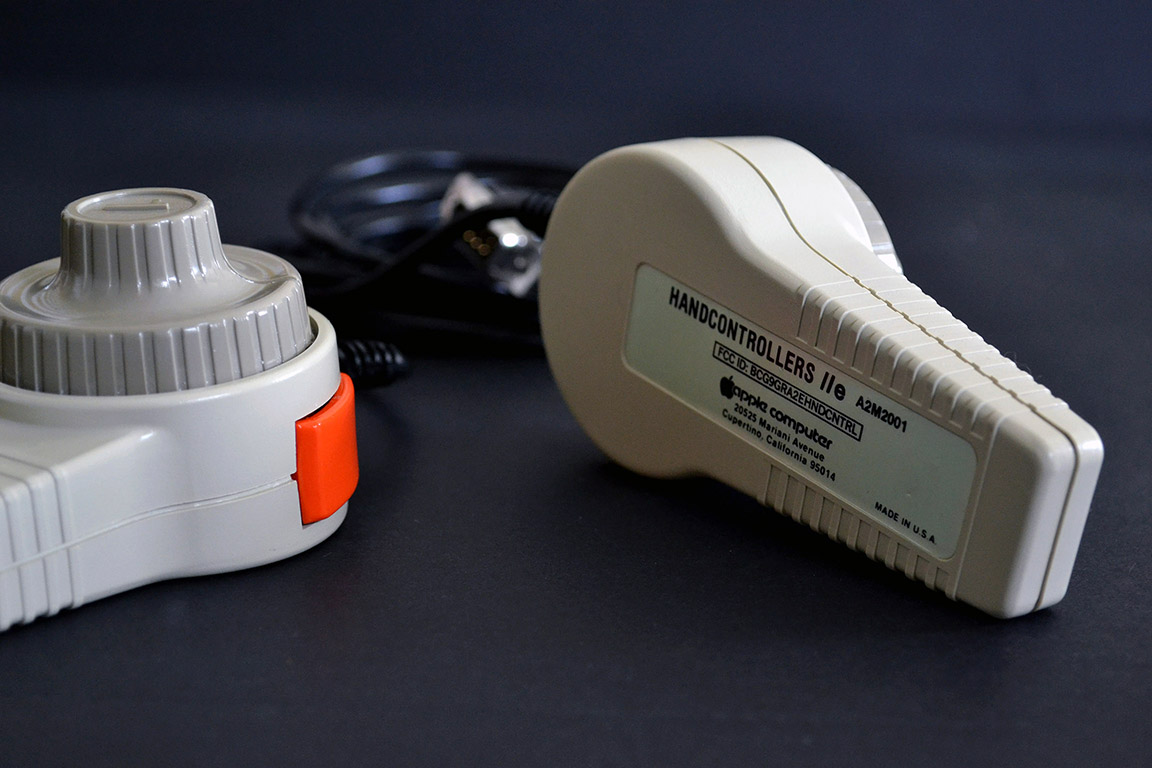
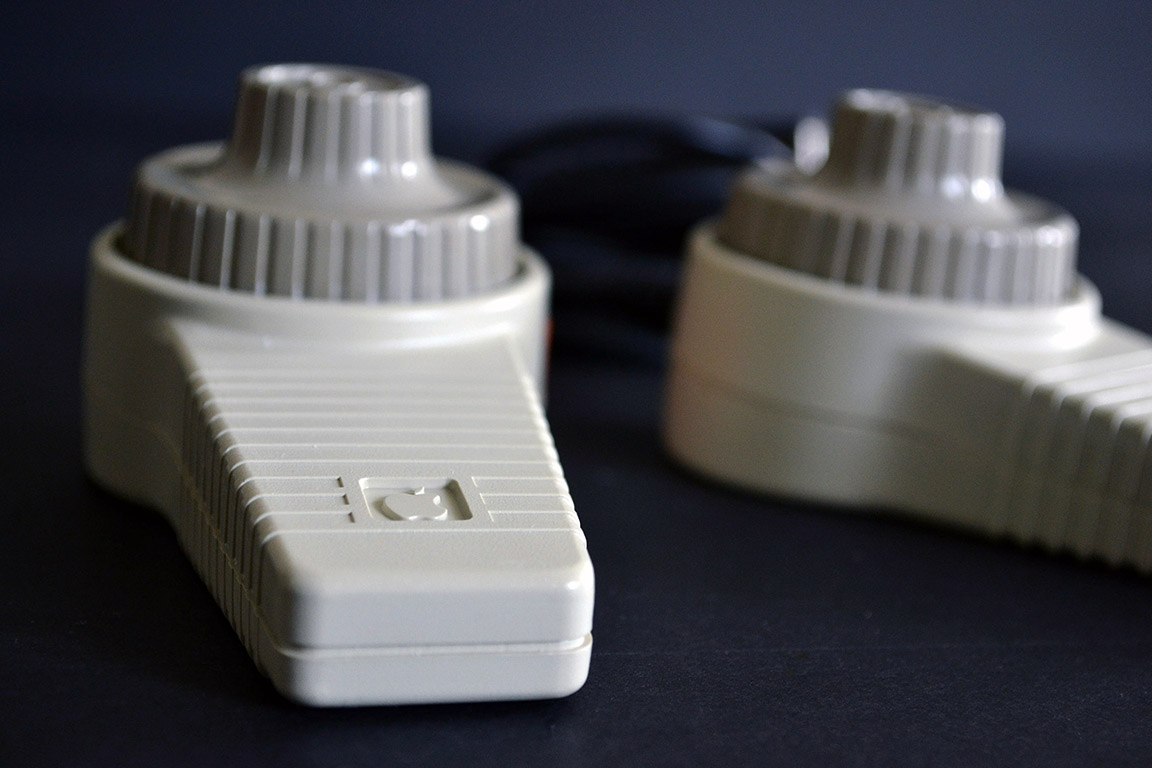
Pues bien, Apple sacó su versión de estos controladores, pero como no había muchos juegos que utilizaban estos controles, tuvieron poca popularidad, siendo aventajados por el Joystick.
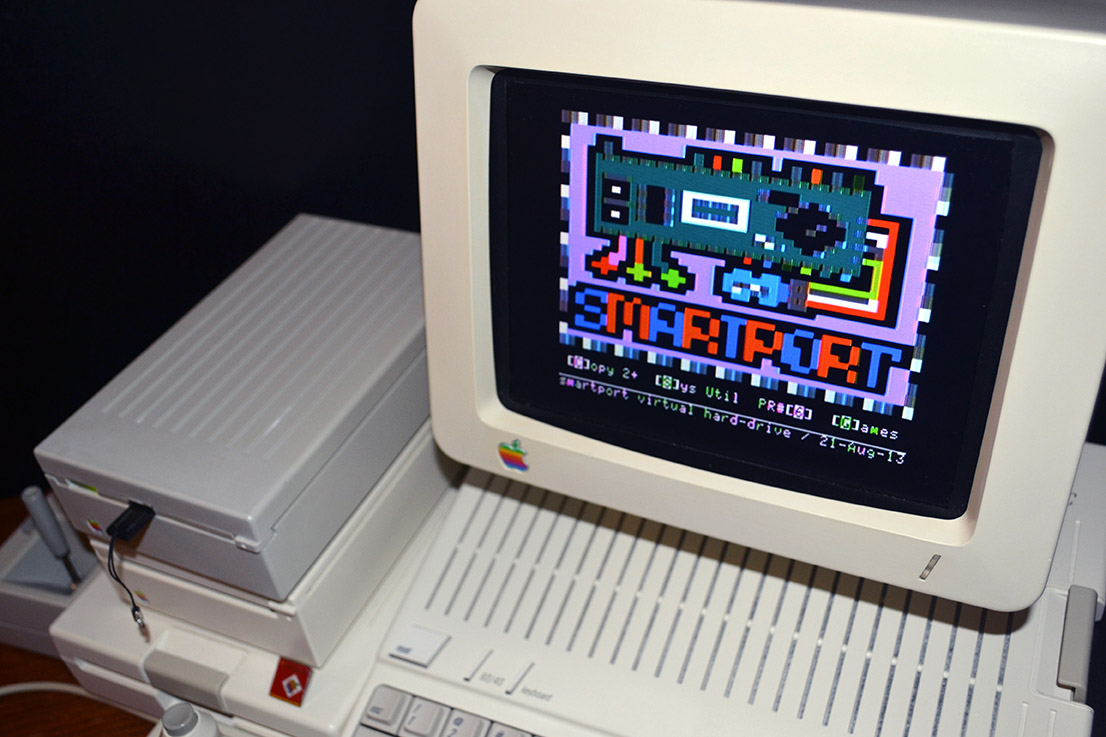
Hace tiempo que quería hacerme de uno de estos juguetes para mi colección, pero siempre se encontraban con precios exorbitantes. Por fin pude encontrar unos controladores en buen estado y a un precio razonable. Por supuesto implicó la aplicación de “Retrobrite” y una limpieza profunda. Creo que ha sido una buena adquisición, no hay muchos juegos que usen las paletas, pero uno de mis favoritos -Wavy Navy – funciona de maravilla.
 |
 |
 |
 |
When I was a kid my dad brought back from one of his trips the first electronic game that I can remember: “Pong” this was a “console” that connected to the TV set and using a couple of paddles allowed you to control the virtual tennis racquets in one axis.
Well, many years later Apple came out with a version of those paddles, called Hand Controllers. They were never popular, as there was not many games that took advantage of them, and the Joystick took over.
I’ve been wanting to get a hold of this item for some time, but the prices are always exorbitant. Finally I found the paddles in good shape and reasonable price. That of course implied the good old Retrobrite process and thoughtful cleaning. I think overall it was a great addition to my collection, and already have used them to play one of my favorite games – Wavy Navy – They work perfectly with this game.
 |
 |
 |
 |
Posted on August 21, 2013
Imagen para Disco virtualCustom image for SPVHD disk image
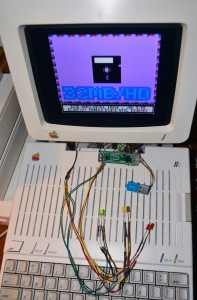
Cuando terminé el caparazón para el SPVHD, subí una fotografía en un foro de entusiastas de Apple II. Cuál sería mi sorpresa al encontrarme con el autor del disco compilatorio, que además creó la imagen de entrada: un floppy negro con un letrero de 32 MB. He aquí:
Al ver mi proyecto, el autor se ofreció a personalizar la imagen para el SPVHD. Después de unos días, aqui está el resultado:
No podía estar mas contento y agradecido al autor, y lo comparto con mis tres lectores.When I finished the SPVHD drive cover, I uploaded a photo of hte finished product to an Apple II board. To my surprise, the author of the compiled disk was one of the board members, which also created the splash image: a floppy image with the text “32 MB/HD” under it. This is it:
When he saw my project, kindly offered to create a custom splash image for the SPVHD. After a few days, here is the result, I could not be happier:
I’m really thankful to the author, and want to share it with my three readers.
Posted on August 11, 2013
Disco duro virtual para Apple //c – ActualizaciónVirtual Hard Drive for Apple //c – update
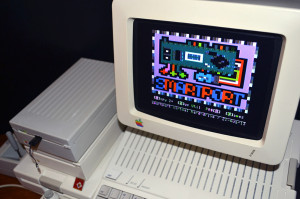
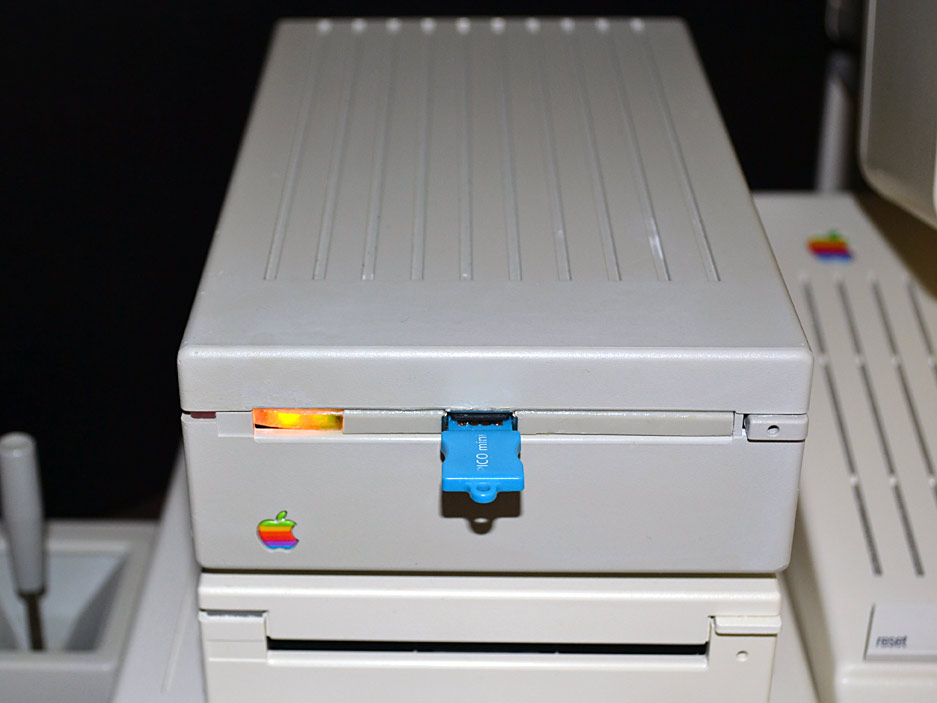
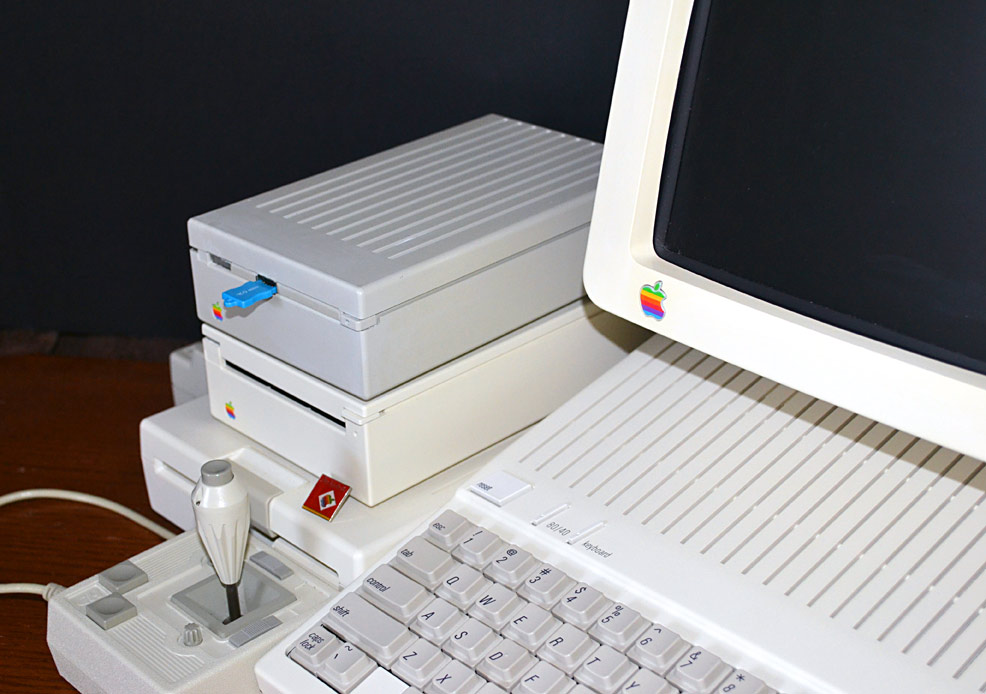
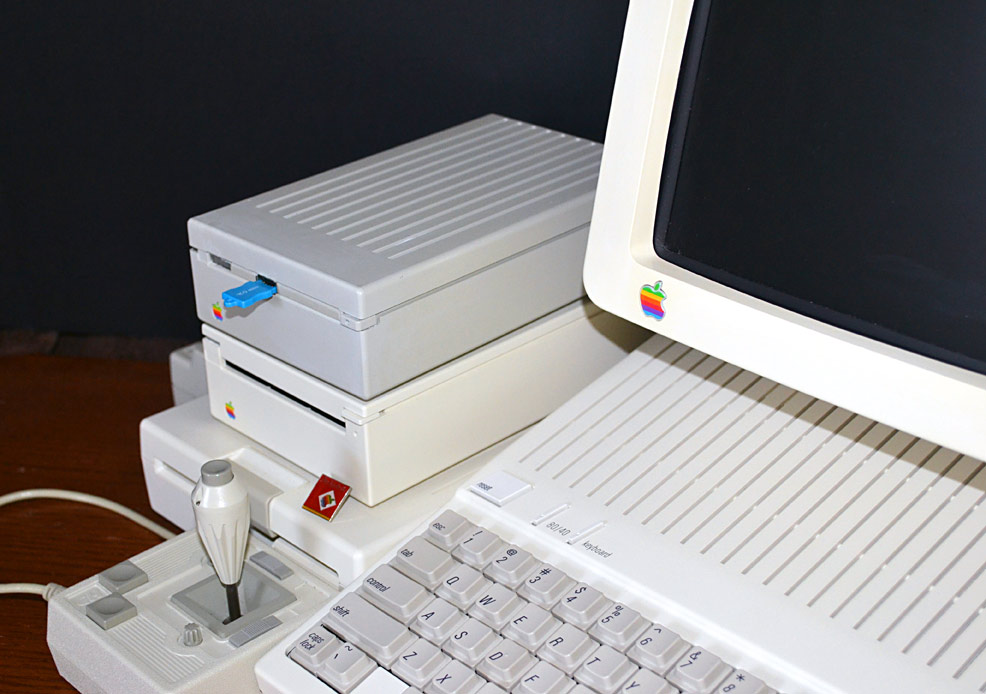
Hace tiempo que no actualizaba el blog, y quiero compartir imágenes de como quedó mi SPVC. Aunque el color no es el mismo, creo que en general fue un buen trabajo. Espero sus comentarios.
There’s been a while since I update y blog, and want to share images of the final product. Although colors don’t match, I think it came out pretty well. I welcome your comments.

